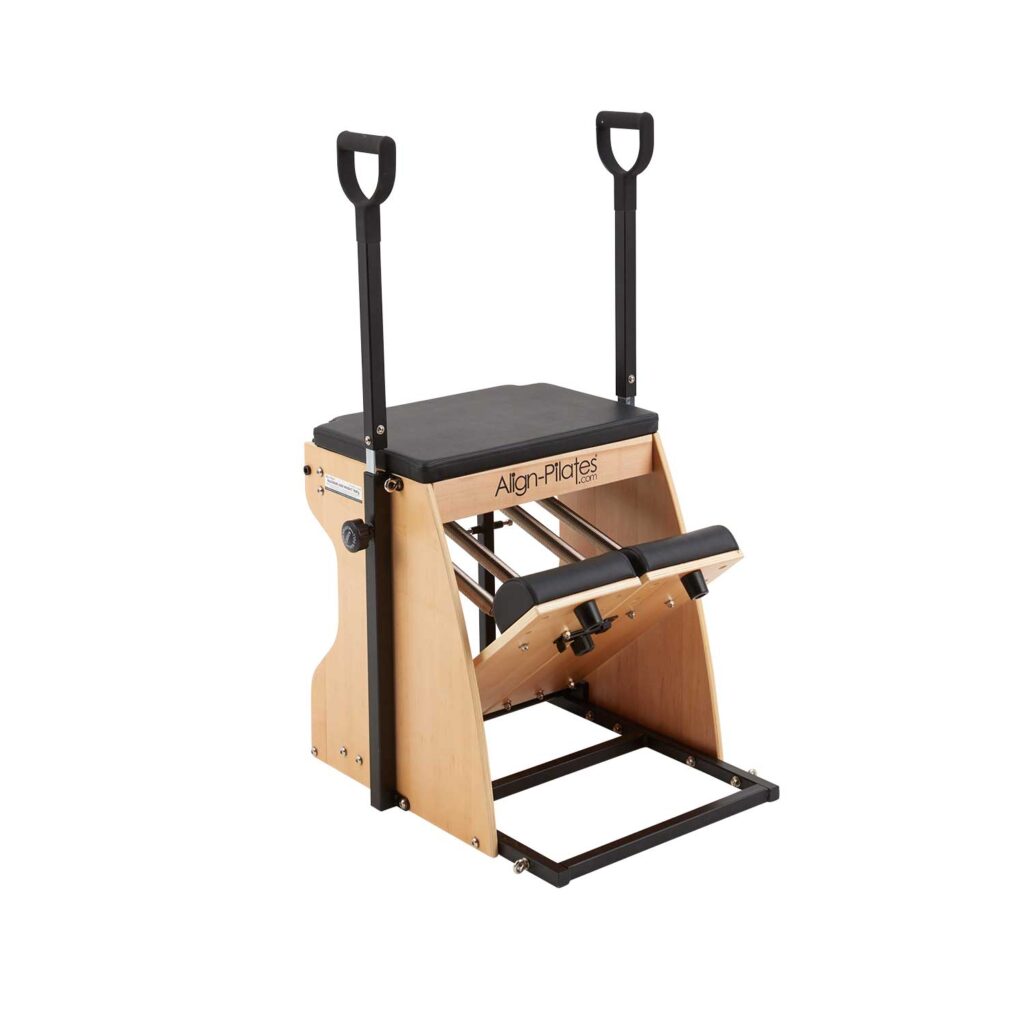
Please note: The Jump Board from the A Series reformer fits into the back of your Combo Chair III. This is an optional extra that can be added at a later date.
Essential Usage Information
This combo chair is for indoor use only or an appropriate level surface of a non-slip nature. Should the floor be slippery a non-slip mat should be used under the chair. The combo chair is not a toy and should not be used by children without the guidance of a suitable qualified Pilates professional.
Spring adjustment
The higher the peg on the Spring Holder Tree the greater the spring resistance on the split pedals. The lower the peg on the Spring Holder Tree the lighter the resistance and the lower the split pedals will be to the floor. There are 4 spring positions, springs should be used at the same height on each side of the same tree otherwise one of the springs will not be correctly tensioned and the spring could come unattached from the tree. Always check springs are properly attached and NEVER adjust whilst someone is on the equipment or the spring is under tension.
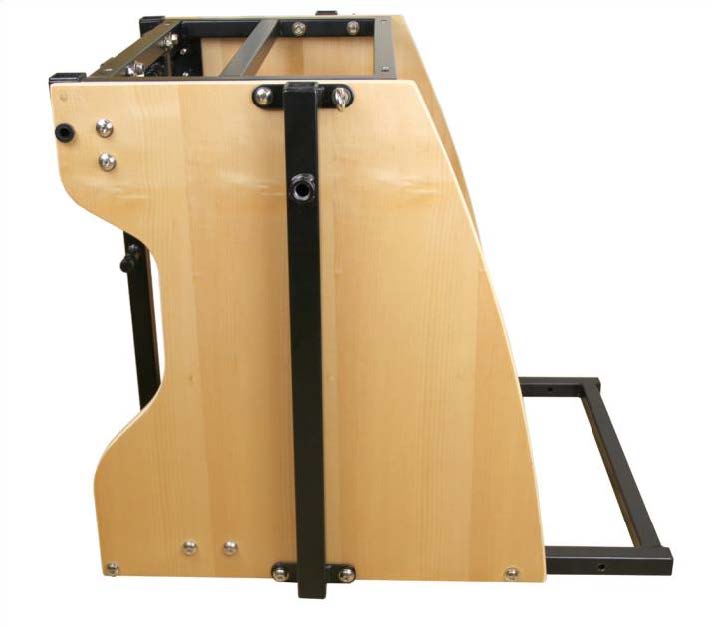
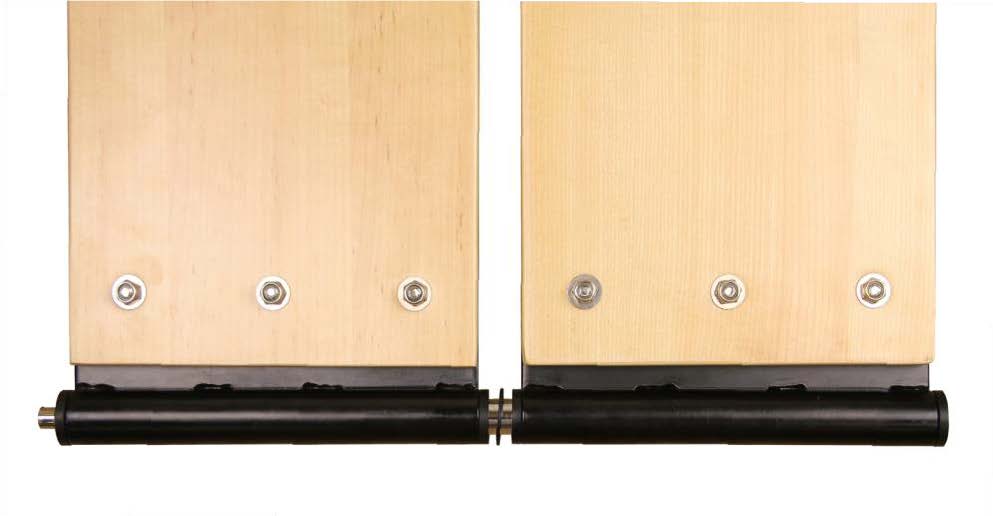
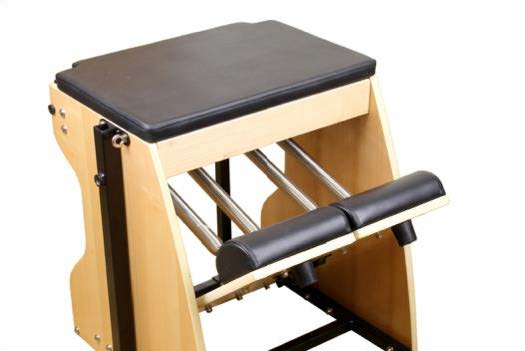
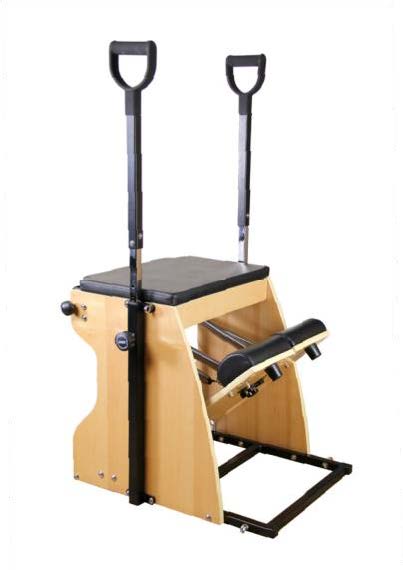
Splitting the pedals
To split the pedals simply unscrew the Connecting Bar Fastener that is located under the pedals, slide back the bar to separate the pedals and refasten to secure the Connecting Bar out of the way. The pedals can now operate independently. To reconnect simply reverse this procedure.
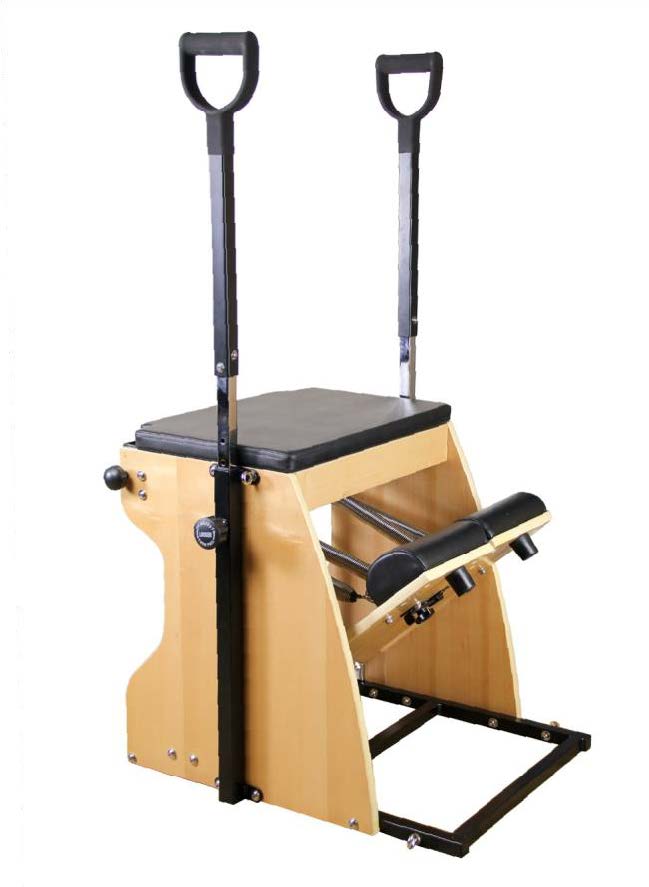
Adjusting the height of the handles
Holding the upper part of the handle, loosen, but do not remove, the knob on the handle holder then pull the knob out which will disengage the connector pin and allow you to adjust the height of the handle. Release the knob when you get to the height you desire and continue to move the handle until the locking pin locates in to one of the 9 height adjustment holes available. Once located at the desired height tighten the knob to prevent and rattle and to fully secure the handles.
Periodic maintenance
We recommend that you check that all the bolts are properly tightened as part of your regular maintenance routines. For cleaning upholstery we recommend cleaning with gym wipes from vital-clean.de which are available worldwide. For further information on cleaning recommendations and equipment maintenance please visit our Warranty and Maintenance Guide.
Spring life
Please always check springs for signs of wear and tear before use. Springs showing any sign of damage or which do not fully return to their closed position should be replaced immediately. Springs should be changed every two years
Warranty Information
Align-Pilates™ Limited Lifetime Warranty
Terms of Limited Lifetime Warranty
Align-Pilates offers the following limited lifetime warranty, for the periods as stated below from the date of purchase, to the original owner of their products, upon presentation of an original invoice in their name. The warranty is a Light Commercial Warranty allowing for a maximum usage of 27.5 hours per week. Align-Pilates will repair or replace any mechanical part that malfunctions due to defects in materials and/or workmanship during the warranty period. The warranty excludes normal wear and tear, damage due to negligence or misuse, abuse, modification or unauthorized repair; scratches to the finish, and tears or indents in the upholstery. Align-Pilates will, at its discretion, repair or replace any parts deemed defective during the warranty period. If we opt to repair or replace your apparatus, this may require that your product is returned for inspection at our premises prior to sending out replacement apparatus. Parts repaired or replaced under the terms of this warranty will be warranted for the remainder of the original warranty period only. This warranty does not cover shipping charges, customs clearance fees (where applicable) or any costs incurred in installing repaired or replacement parts shipped under the provisions of this warranty. This warranty will be null & void if springs are not changed as specified or, if all safety, maintenance and usage instructions as specified in the manuals are not observed or, if the equipment is used for any other purpose other than for Pilates repertoire or if the equipment has been subjected to accident, abuse, improper service, or modification not authorized by Align-Pilates.
Duration of Limited Warranty
Metal Frames & welded components: 10 year warranty
Wooden Frames: 5 year warranty. Wooden frames must not be positioned next to convection radiators or air conditioning units.
Other non-wear and tear components: 2 year warranty
Springs: 2 year warranty is given on all springs. In the event of any signs of damage or wear springs should be replaced immediately regardless of age or usage.
Upholstery: The upholstery fabric on Align-Pilates equipment will be replaced if it fails to give normal wear for 90 days from the date of delivery. Proof of damage may be required. This warranty does not cover cuts, scratches, burns, stains, soiling, or damages caused by unreasonable use such as wearing jewellery or inappropriate clothing whilst using the equipment. Align-Pilates reserves the right to substitute an equivalent fabric if an identical fabric is not available. Upholstery must be properly cared for – do not use chemical sprays or industrial soaps, we suggest using Gym Wipes for upholstery cleaning as laid out in this manual.
Warranty Return Procedure
The customer must call Align-Pilates or its authorized Distributor for authorization prior to returning the equipment. The customer is responsible for the cost of returning products to Align-Pilates (or their appointed Distributor) for warranty adjustment should this be deemed necessary. The customer is responsible for any damage or loss during shipment back to Align-Pilates (or their appointed Distributor). The customer is responsible for the cost of return freight to them in the event Align-Pilates decline to make a warranty adjustment. Align-Pilates do not accept responsibility for any items returned without a pre-approved authorization number, which must be clearly marked on the outside of the package.
Limitation of Liability
The above is our exclusive warranty and is in lieu of all other warranties, express or implied, including warranties of merchantability or fitness for any purpose. In no event shall Align-Pilates or their Distributors be liable for incidental, consequential or punitive damages.
Contact Information
This warranty is issued by Align-Pilates Equipment Ltd, 430 Enterprise Way, Vale Park, Evesham, Worcs WR11 1 AD, UK. Tel: + 44 1386 425920. www.align-pilates.com.